Use Harness Policy As Code for Feature Flags
Currently, this feature is behind the Feature Flags OPA_PIPELINE_GOVERNANCE, CUSTOM_POLICY_STEP, and OPA_FF_GOVERNANCE. Contact Harness Support to enable the feature.
This topic describes how to create policies using the Harness Policy As Code and apply them to your Feature Flags. Harness Policy As Code uses the Open Policy Agency (OPA) to store policies on the Harness platform. For more information about how OPA and Harness Policy As Code work, see Harness Policy As Code Overview.
Before you begin
- Ensure you have read and understood Harness Policy As Code Overview.
- Ensure you have created your project and environment in the Harness platform.
- Policies use OPA authoring language Rego. New to Rego? Use the following resources to learn it:
- Free online course on Rego from Styra founder and OPA co-creator Tim Hendricks: OPA Policy Authoring.
- See Policy Language from OPA. The Rego Cheat Sheet is also helpful to have on hand.
Step: Create and Apply a Policy
To create and apply a policy, follow the steps below:
Step 1: Create a Policy
The first step of using policies with your Feature Flags is creating a policy.
In Harness Platform, select Feature Flags, and then select your project.
In Project Setup, click Policies.
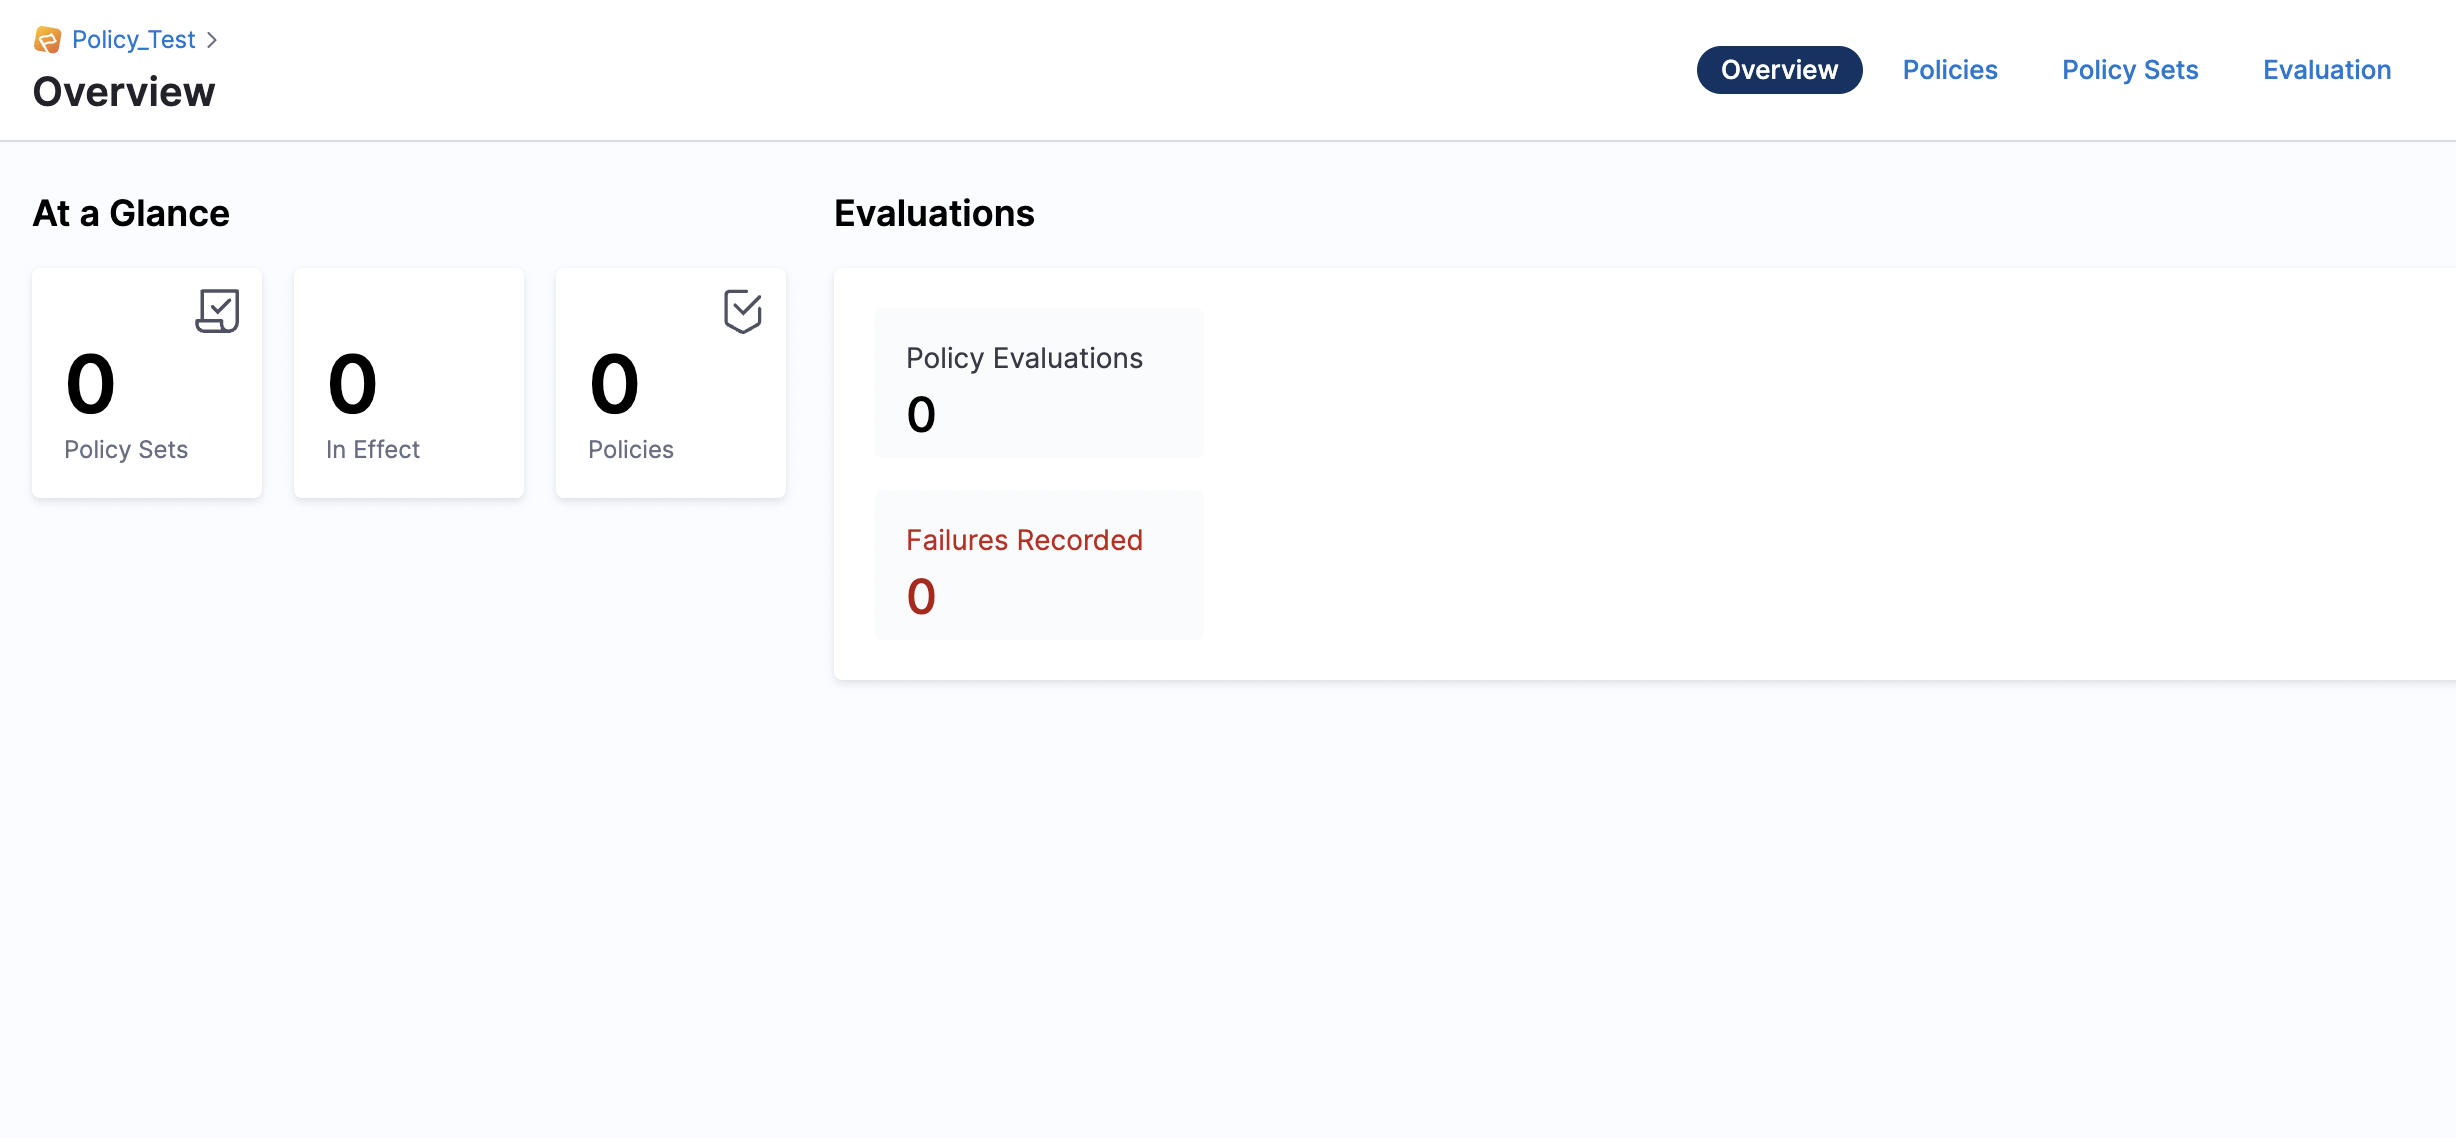
You can view an overview of your policies and how many times they have been evaluated on the Overview page.
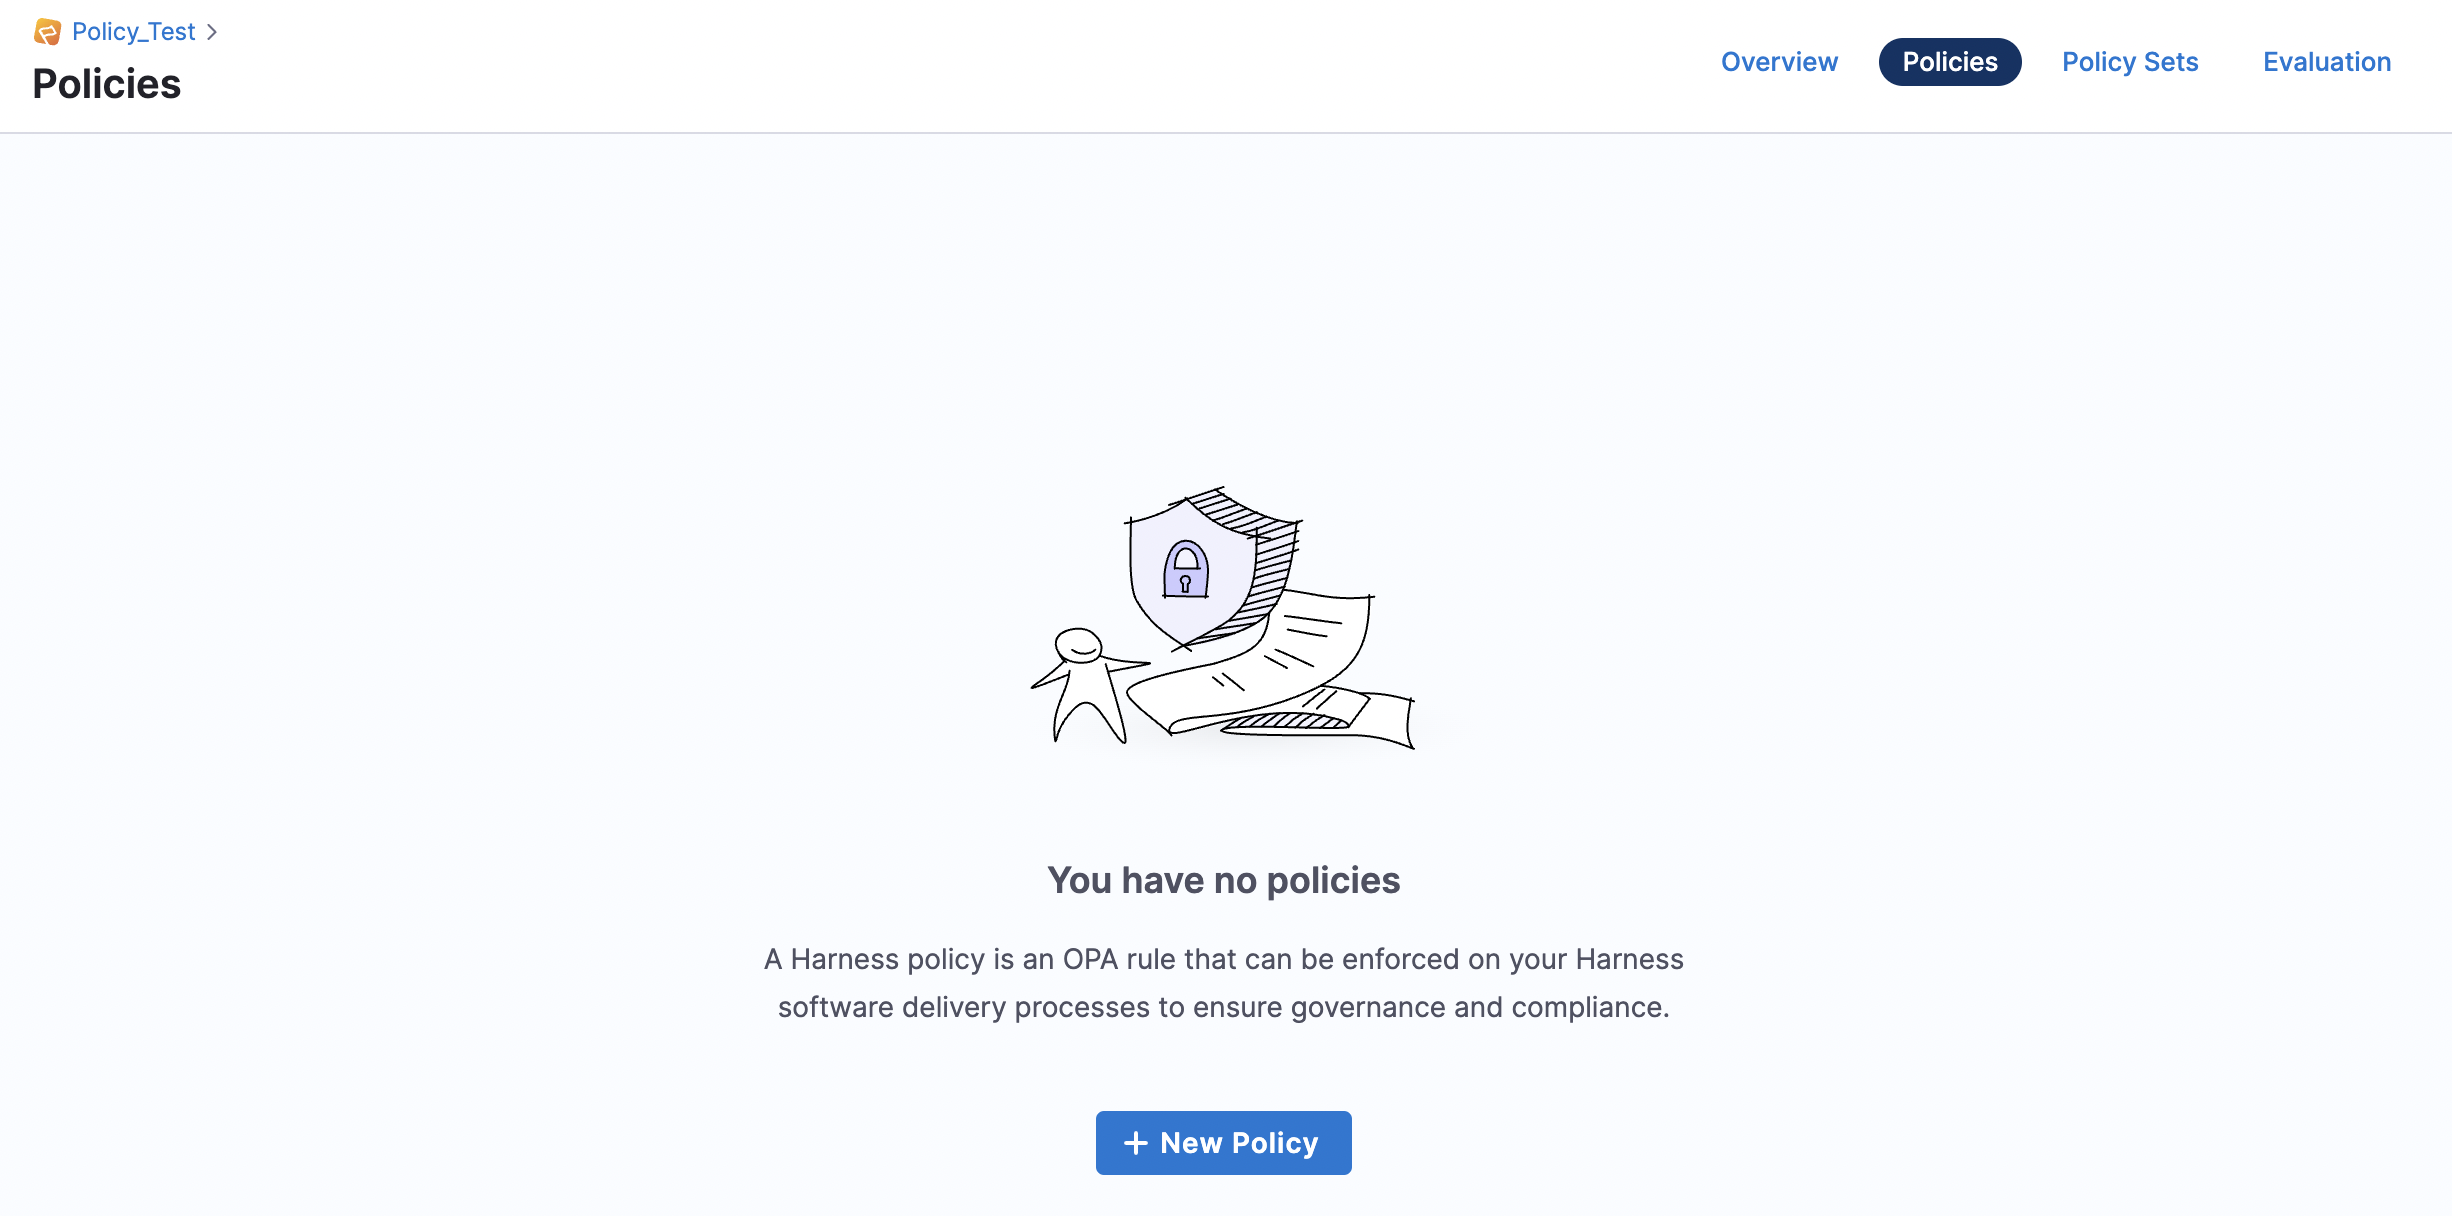
Select Policies, and then select New Policy.
In the New Policy page, enter the Name of the Policy, and then select Apply. This is the Policy name that appears on the Policy Overview page.
Then, you can either enter your own Rego policy or use a pre-existing policy from the policy library.
Policies are written in Rego, for more information about Rego, see the OPA documentation for Policy Language.
Use Your Own Rego Policy
To use your own Rego policy:
- Enter your Rego policy into the policy editor. For example:
package feature_flags

# Deny flags that aren't booleans
deny[sprintf("feature flag '%s' isn't of type boolean", [input.flag.identifier])] {
  input.flag.kind != "boolean"
}
Click Save.

Use an Existing Rego Policy from the Harness Policy Library
To select a pre-existing policy:
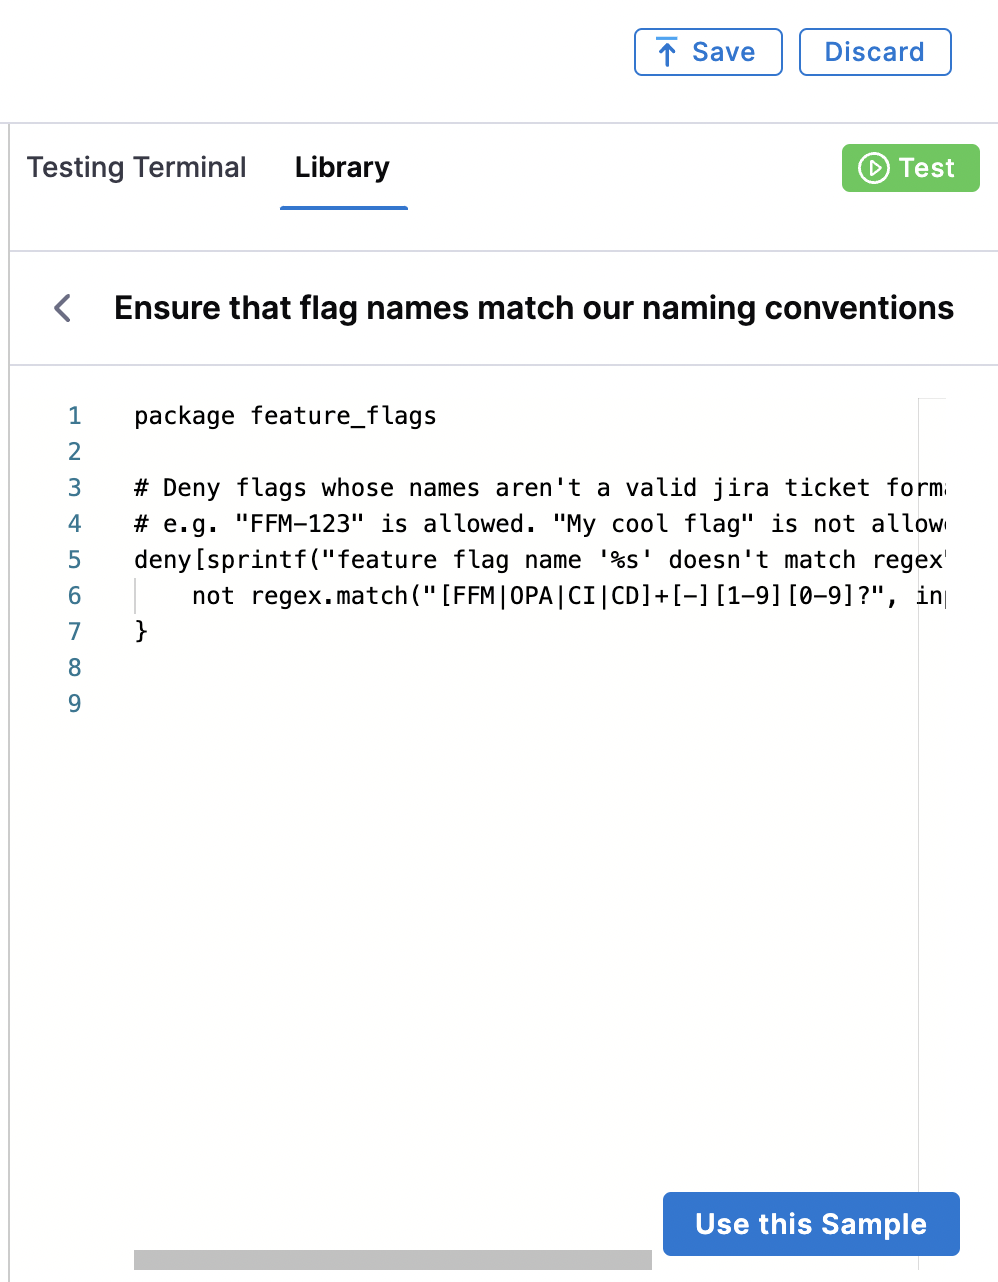
In the right-hand panel, click the Library.
In the Entity drop-down menu, select Flags.
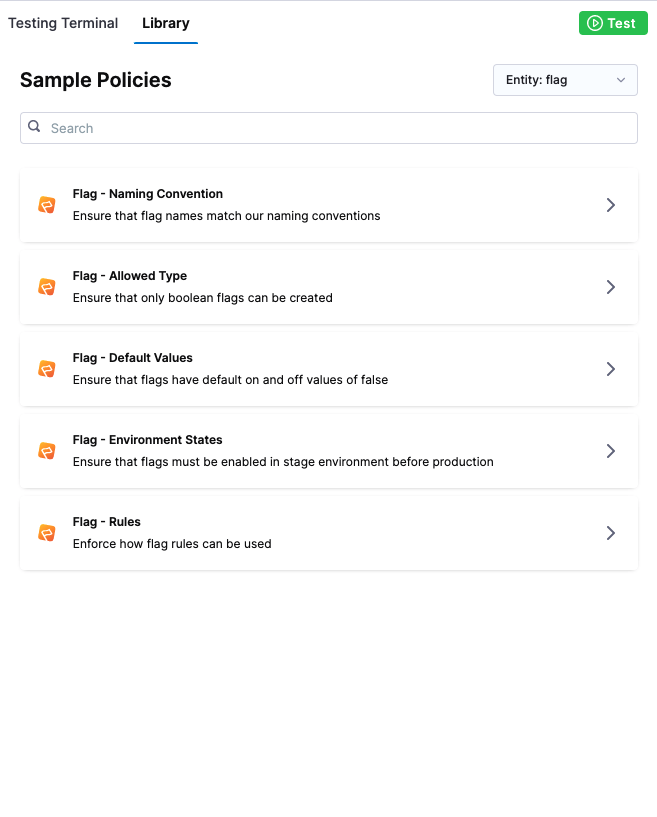
Select a pre-existing flag policy from the list. The Rego code will populate in the Library editor.
Click Use this Sample.
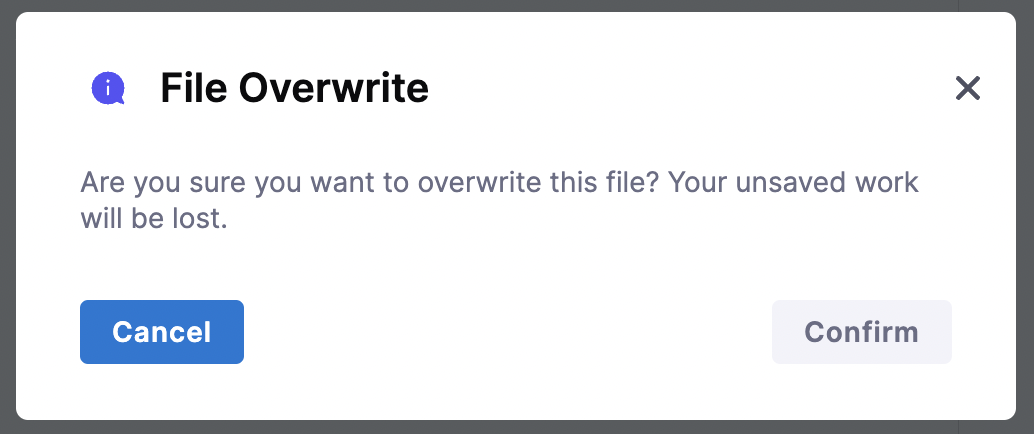
In File Overwrite, click Confirm to add the sample to your editor.
Click Save.
Use the Testing Terminal to Check Your Code
- To check your policy code is valid, test your policy against a previous Policy Evaluation in the Testing Terminal:
You can only test a policy in the Testing Terminal if you have previously run a Policy Evaluation. If you are creating your first ever policy for the Project, continue to Step 2: Add the Policy to a Policy Set. After you have applied your first policy to a Feature Flag, you can then use the Testing Terminal.
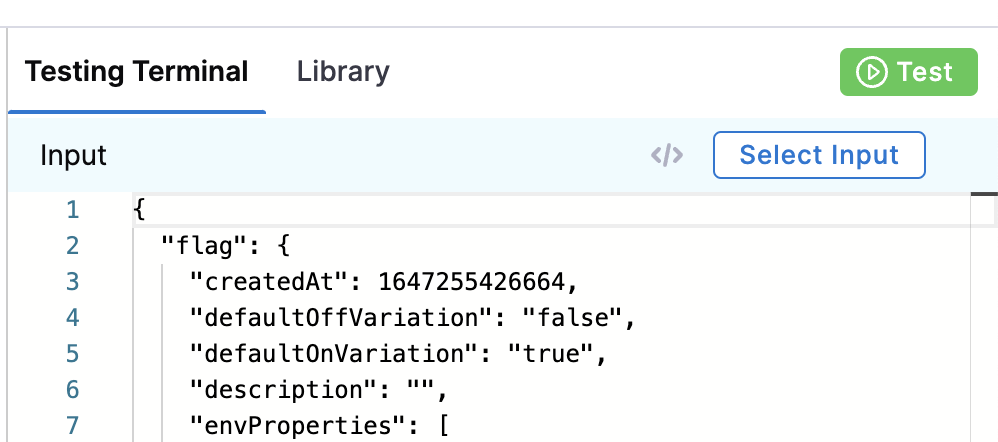
In the Testing Terminal, click Select Input.
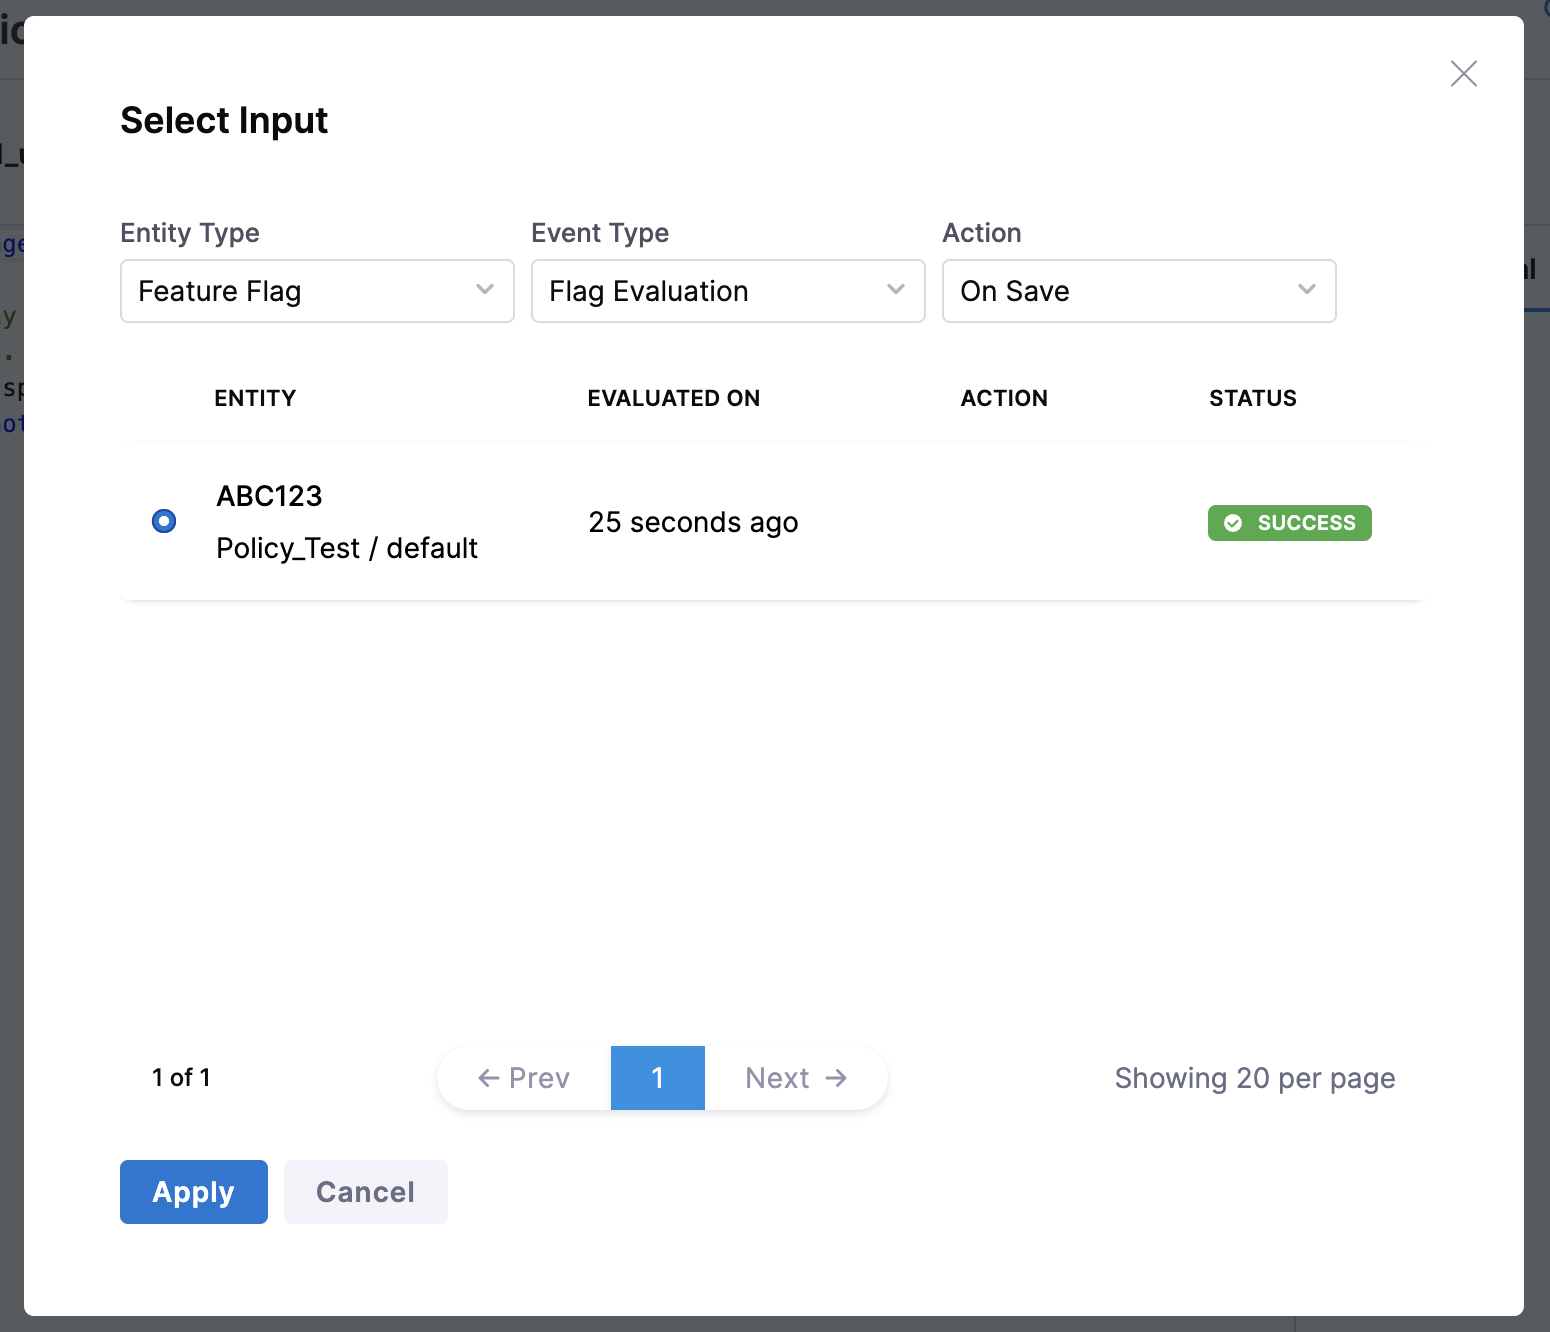
Select Feature Flag as the Entity Type. Event Type and Action are automatically completed.
Select the Feature Flag you want to test, then click Apply. This will automatically populate the Testing Terminal using the details of the Feature Flag you selected.
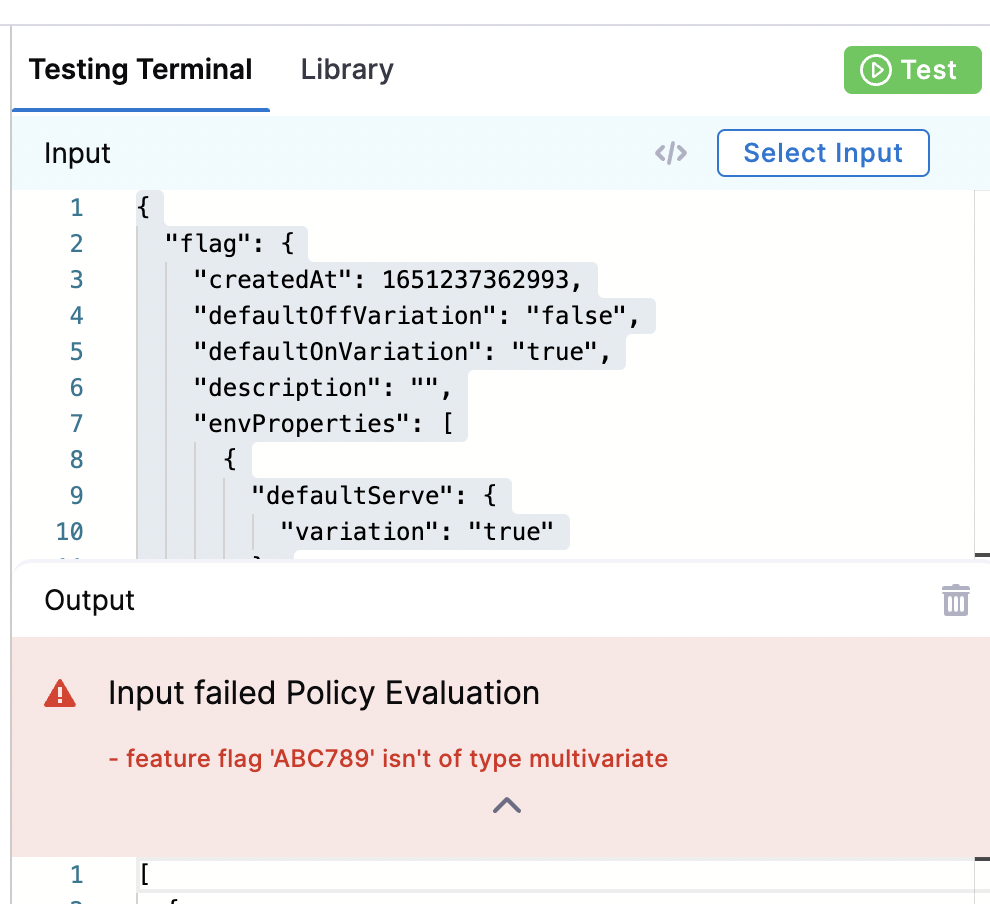
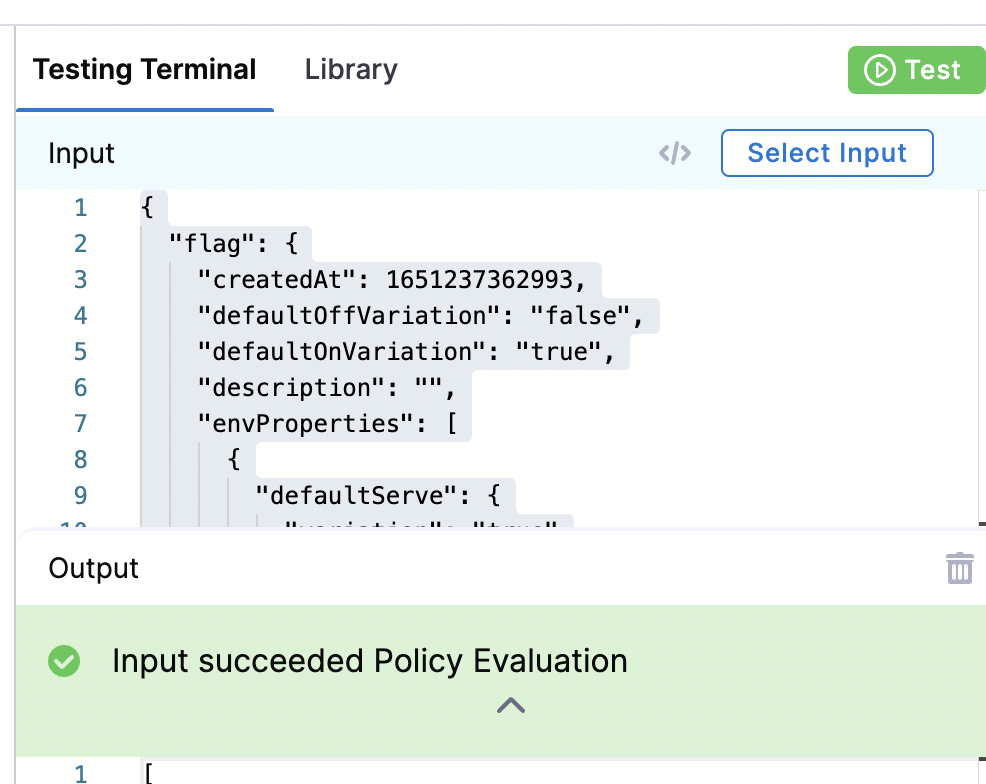
Click Test. Depending on whether the updated policy successfully applies to the existing Feature Flag, you receive one of the following:
Input failed Policy Evaluation: The Feature Flag doesn’t adhere to the updated policy.
Input succeeded Policy Evaluation: The Feature Flag adheres to the updated policy.
Step 2: Add the Policy to a Policy Set
After you create an individual policy, you must add it to a Policy Set before you can apply it to your Feature Flags.
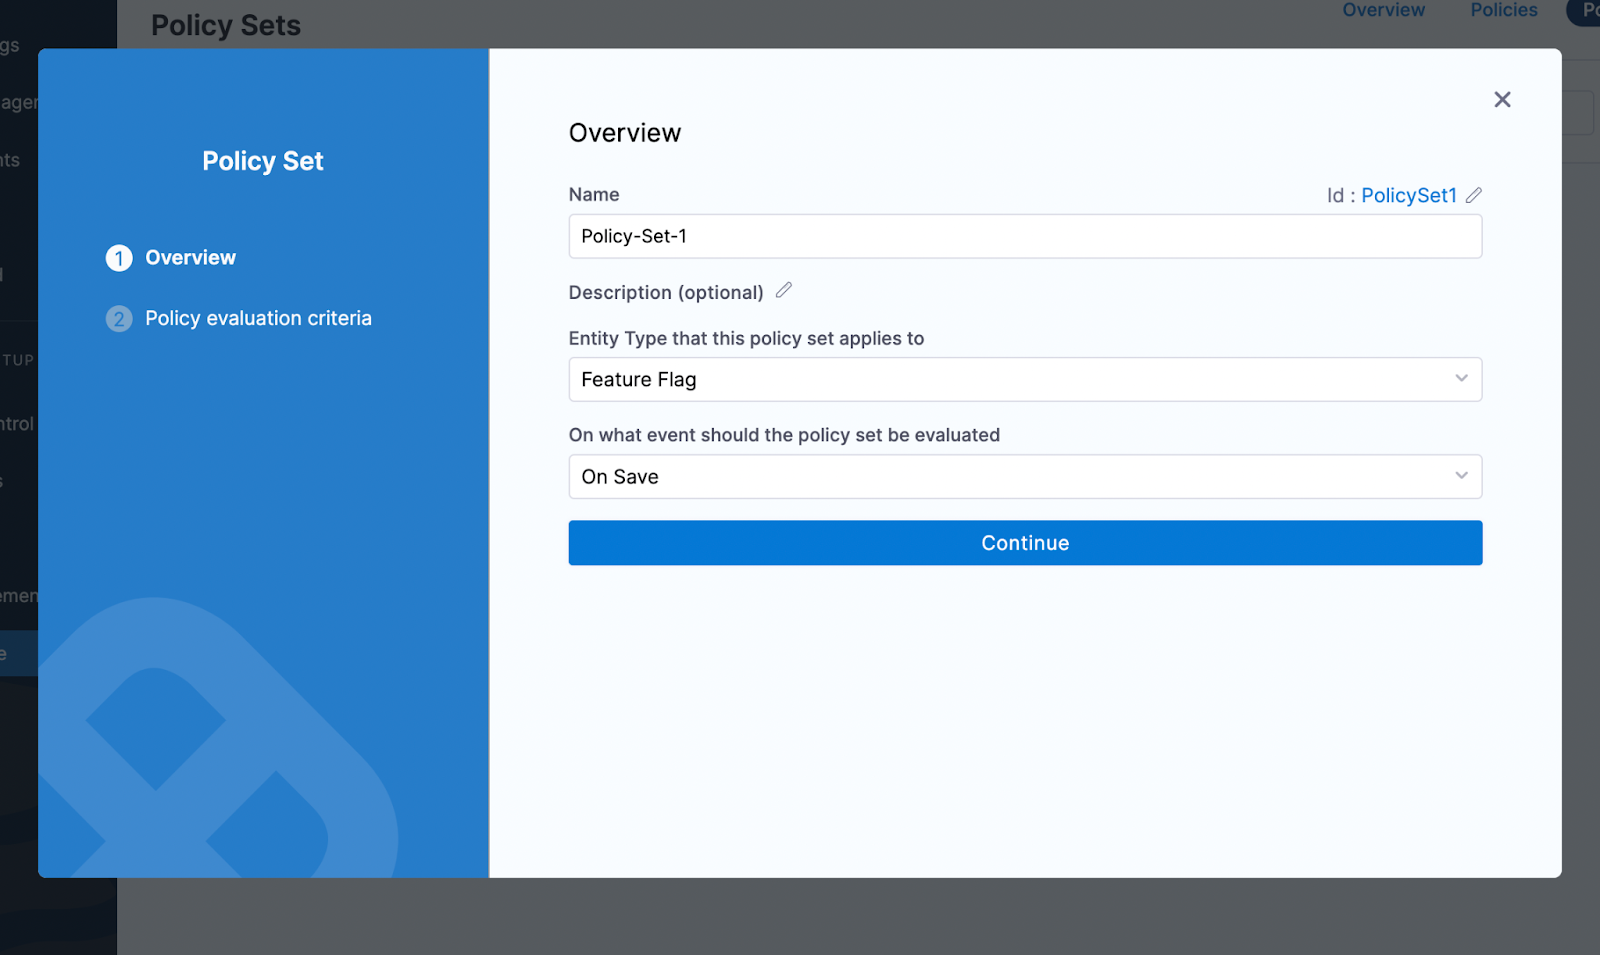
In Policies, click Policy Sets, then click New Policy Set.
In Name, enter the name of the Policy Set.
(Optional) In Description, enter a description of the Policy Set.
In Entity type that this policy applies to, select Feature Flag.
In On what event should the Policy Set be evaluated, select On save, then click Continue.
Policies are not automatically applied to existing Feature Flags. Policies can be applied to Feature Flags only on a save when they are created, updated, or switched on or off.
- In Policy evaluation criteria, click Add Policy, then click your Project to display all the policies you created for that project.
- Select the policy you want to use. In the drop down menu next to the policy name, select the severity and action you want to apply when the policy isn’t adhered to:
Warn & continue: If a policy isn’t met when the Feature Flag is evaluated, you receive a warning but the flag is saved and you can continue.
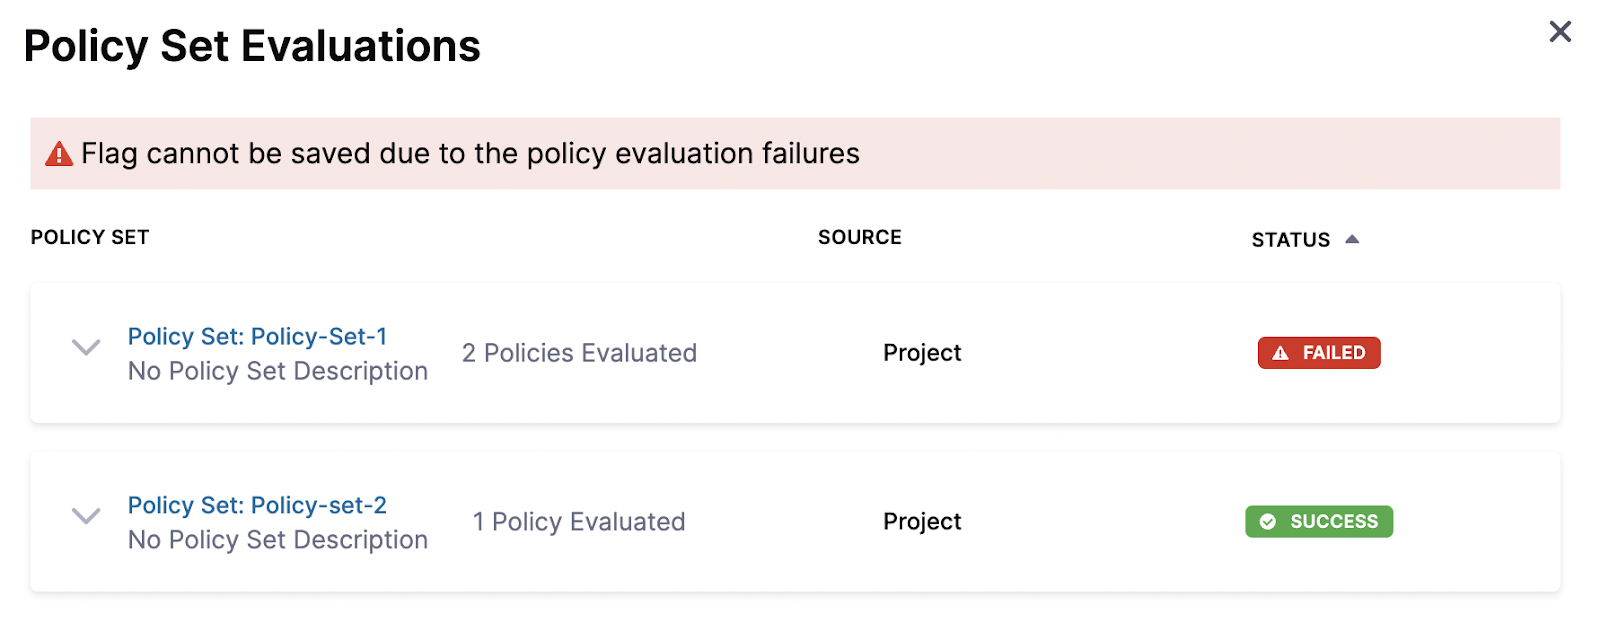
Error and exit: If a policy isn’t met when the Feature Flag is evaluated, you receive an error and are exited without saving the flag.
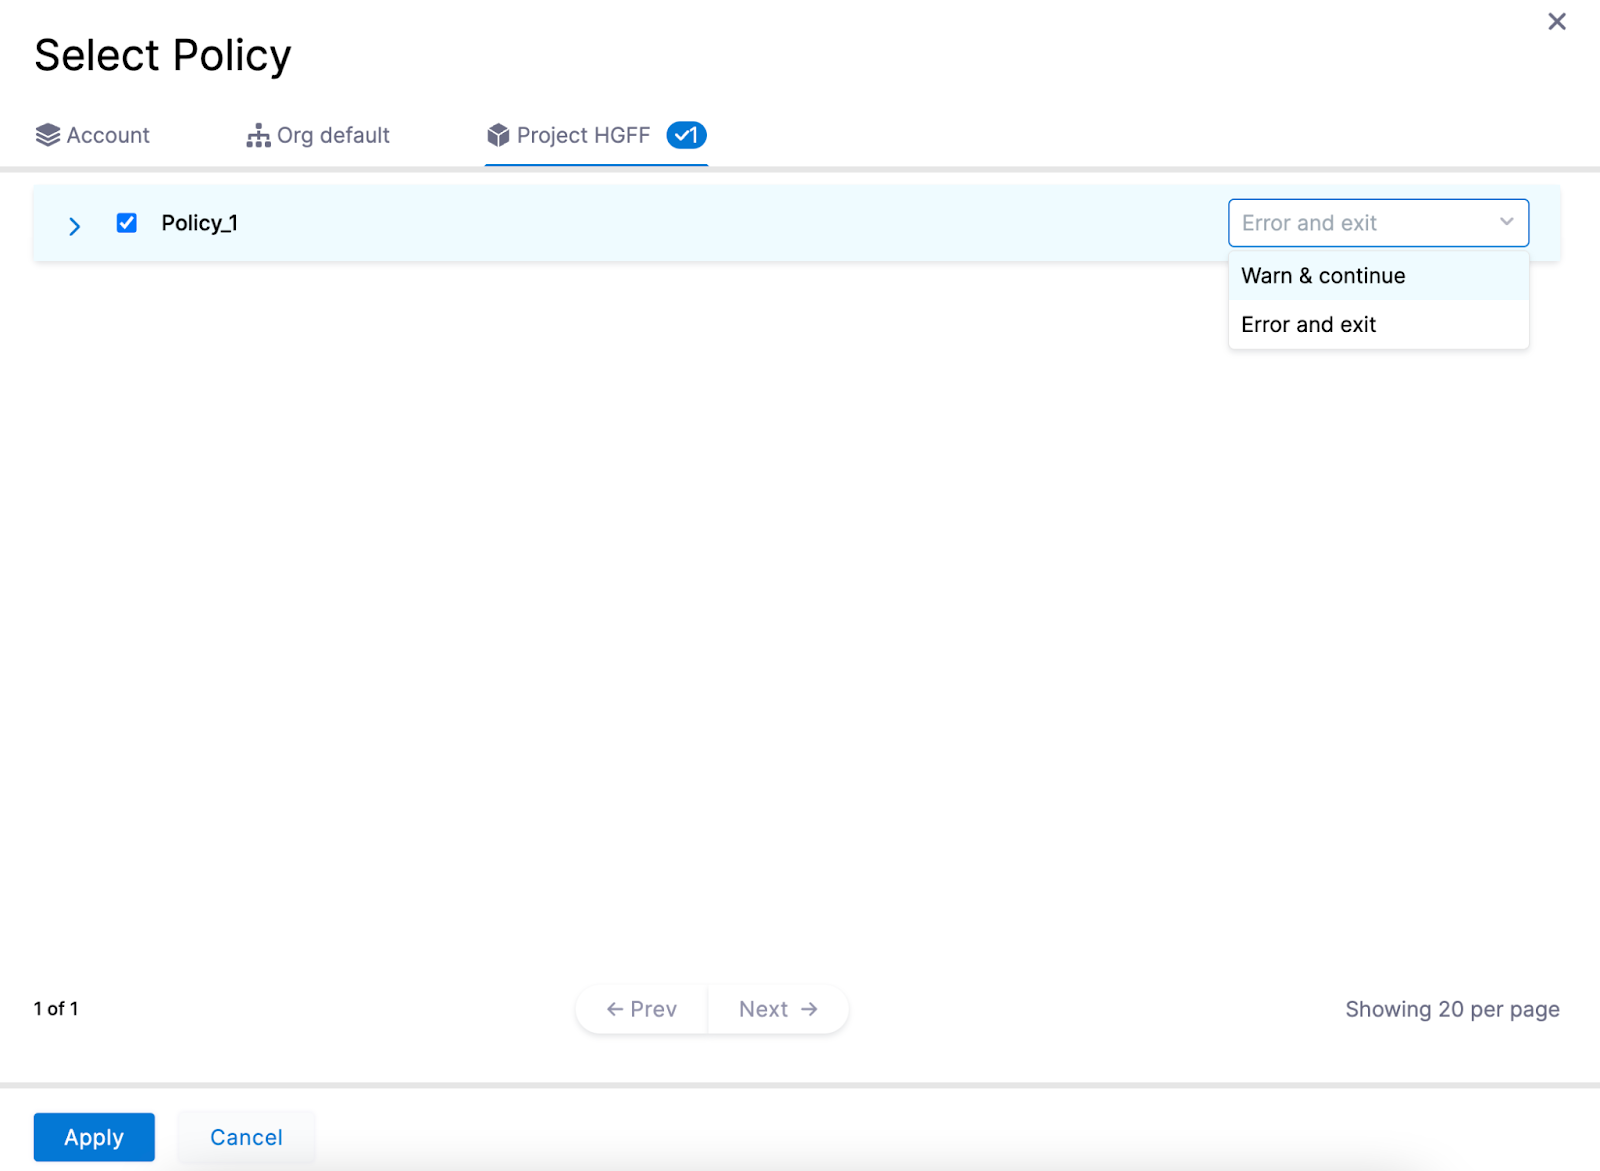
- Click Apply, then click Finish.
- The Policy Set is automatically set to Enforced, to make it unenforced, toggle off the Enforced button.
You need to enforce the policy before it evaluates your Feature Flags.

Step: Apply a Policy to a Feature Flag
After you have created your Policy Set and added your policies to it, apply the policy to a Feature Flag.
- In Harness Platform, click Feature Flags.
- Click + Flag.
- Create a new Feature Flag. Make sure the flag adheres to the policy you are testing.
- Click Save and Close. The result is one of the following:
Success: When you save the flag, the policy rule is evaluated, returns Flag created, and the flag is saved.
Failure:
If you selected Warn and continue when creating the policy, the flag is saved but you receive the following warning message:
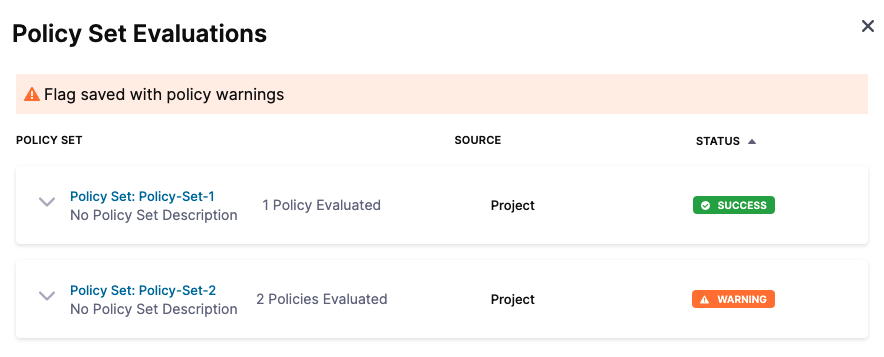
If you selected Error and exit when creating the policy, the flag doesn’t save and you receive the following error message:
After you have successfully created a Policy Set and applied it to your feature flags, you can:
Edit a Policy
After you have created a policy, you can edit it by renaming it or updating its rules in the policy editor.
In Feature Flags, click Policies.
Click Policies, then click the three dots next to the policy you want to change, then click Edit.

To update the policy name, click Edit Policy.
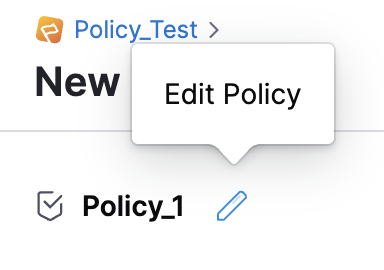
Enter the new name and click Apply.
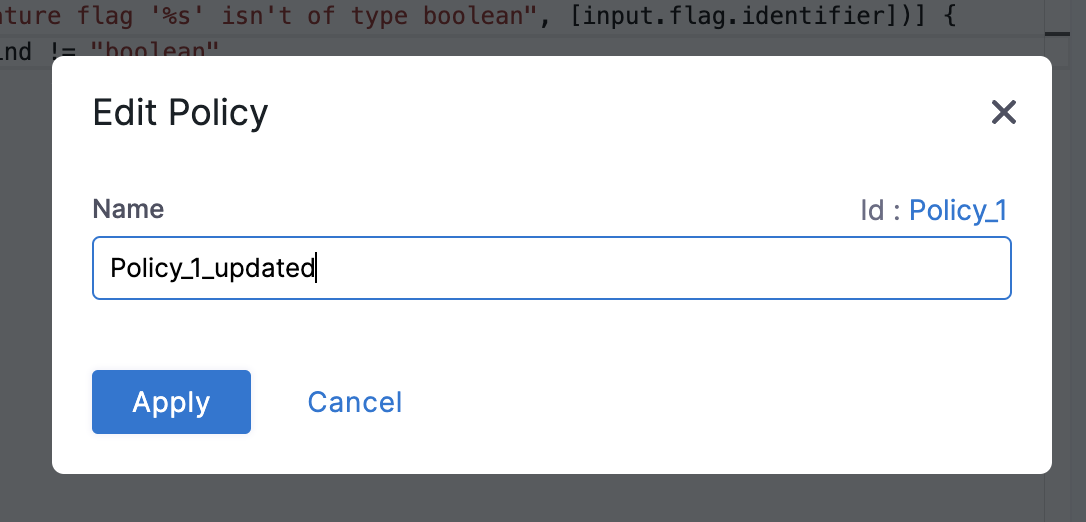
To update the policy rules, edit the Rego code in the policy editor.
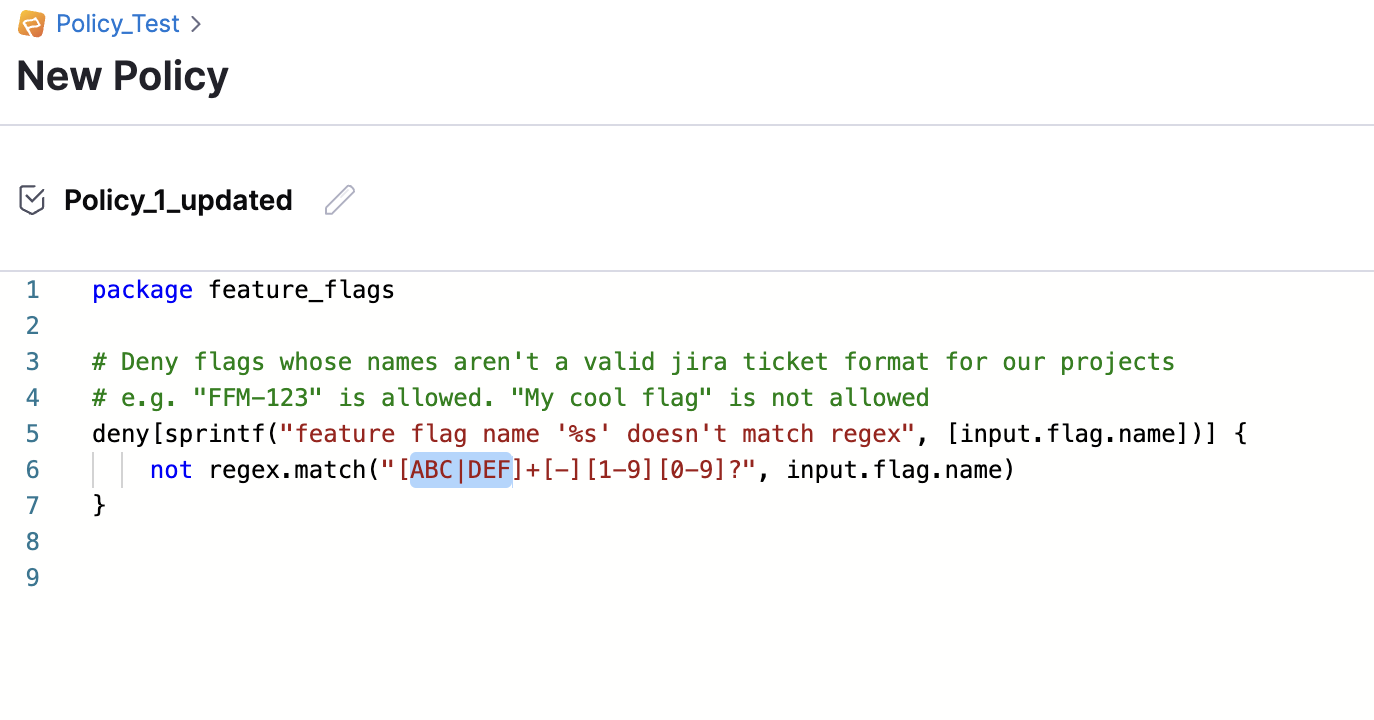
Test the updated policy in the Testing Terminal against a previous Policy Evaluation to ensure it is valid. For more information about how to do this, see Step 9 in Create a Policy.
When you've made all the changes, click Save.

Edit a Policy Set
You can edit a Policy Set to amend the name or add a new policy.
In Feature Flags, click Policies.
Click Policy Sets, then click the three dots next to the Policy Set you want to change, then click Edit.

The Policy Set's settings are displayed. Follow the steps in Add the Policy to a Policy Set to edit the details.
Click Apply, then click Finish.
View a History of Policy Evaluations
You can view all failures, warnings, and successes of evaluations for each of your Policy Sets.
- In Feature Flags, click Policies. On the Overview page, you can view the total number of:
- Policy Sets.
- Policy Sets in effect.
- Number of policies across all Policy Sets.
- Policy evaluations.
- Passed, failed, and warning results from evaluations.
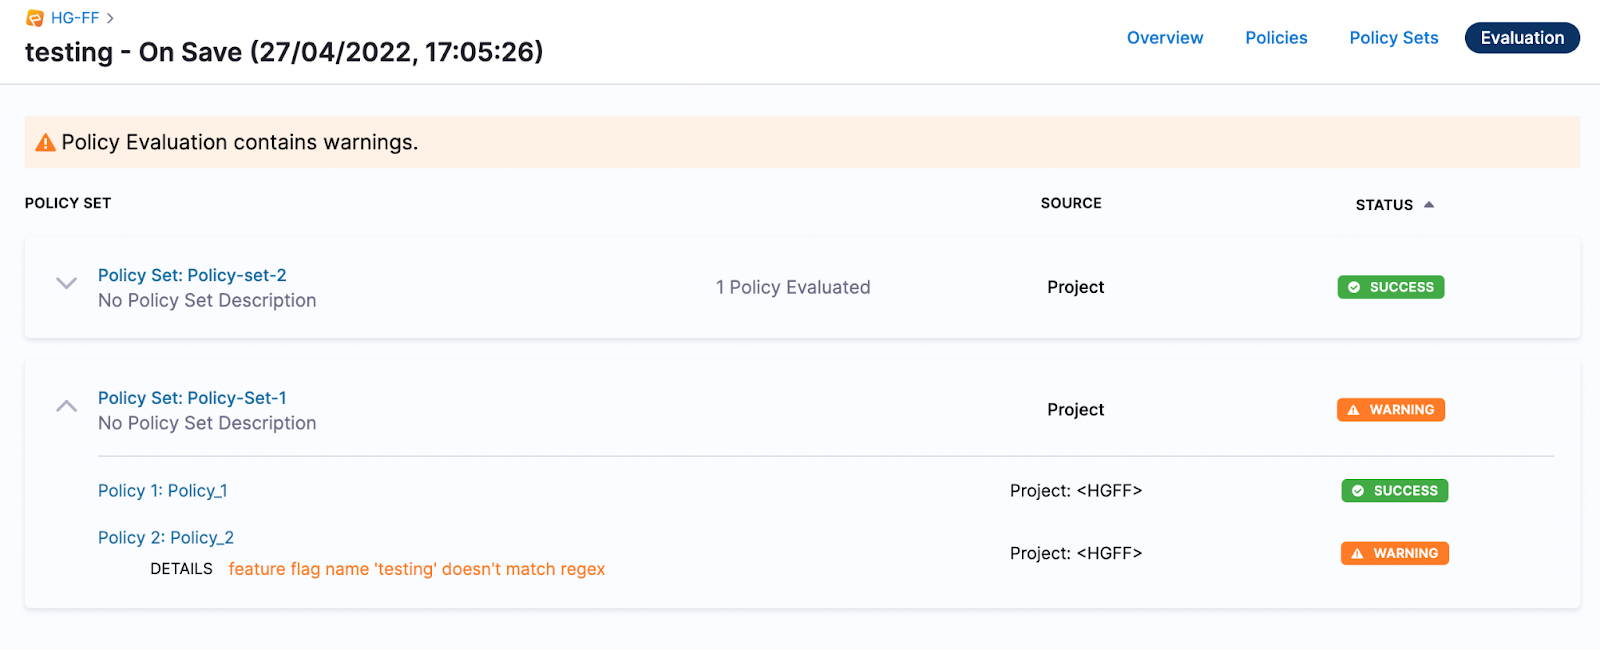
Click Evaluation.
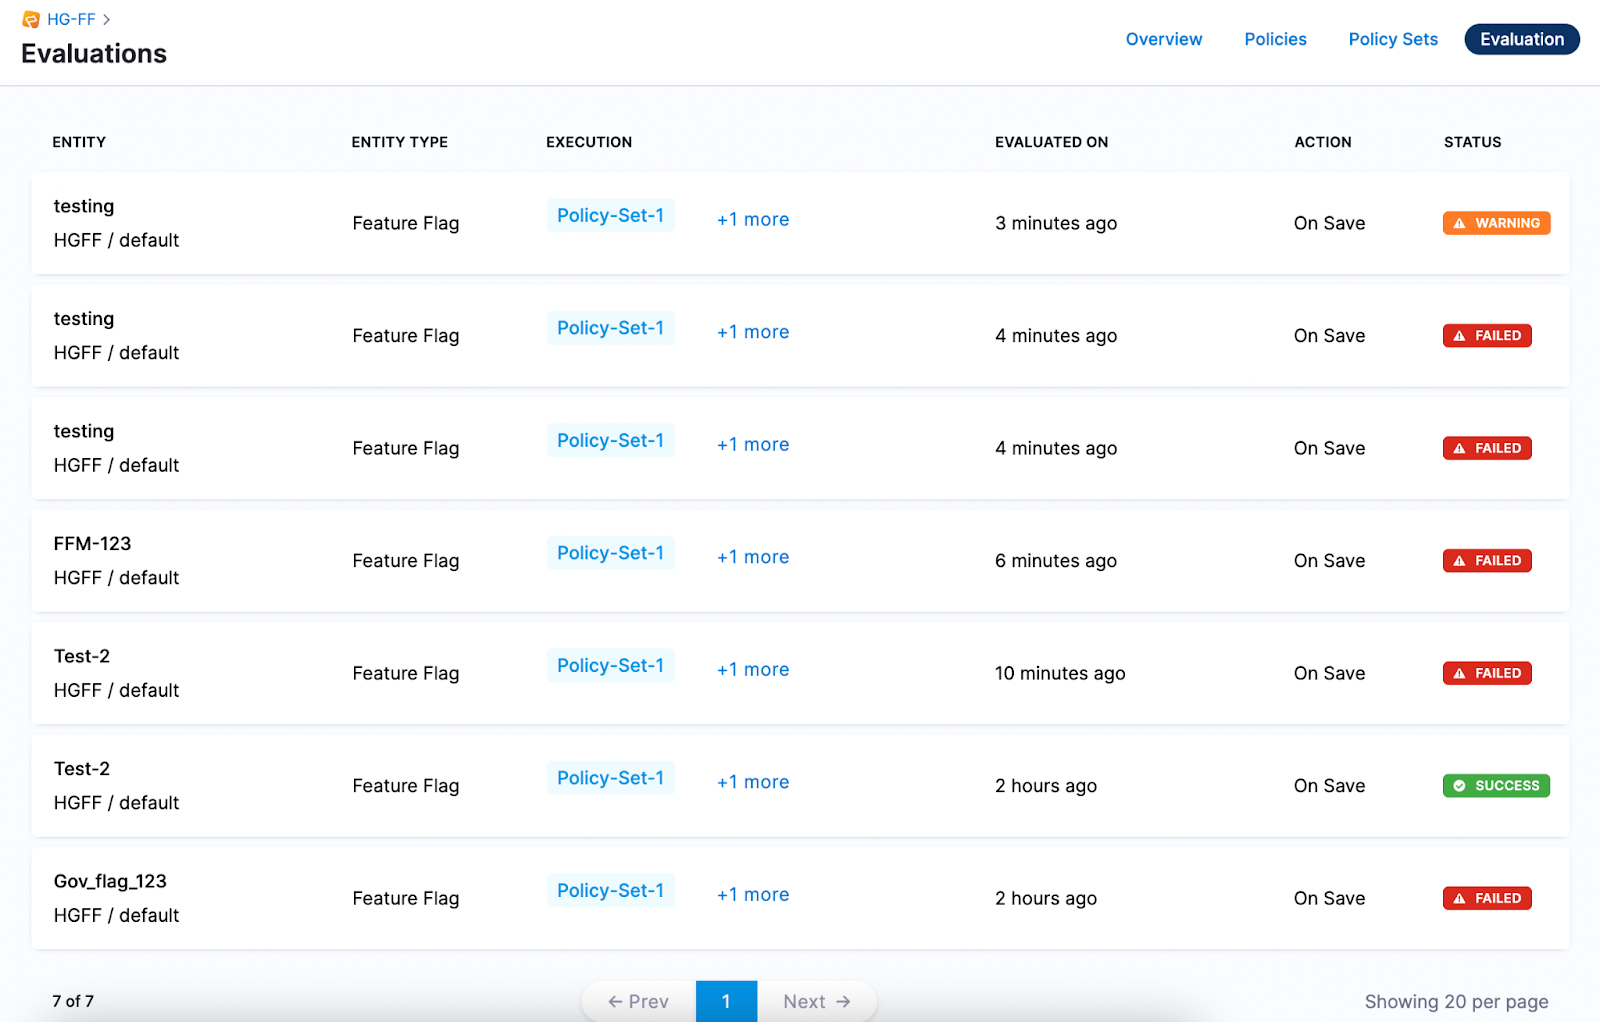
To view further details of a particular evaluation, click on it and expand the relevant evaluation.
